
Building a website for your business is exciting, but it can also feel overwhelming, especially if you’ve never done it before.
You might have a clear picture of how you want your website to look, but turning that idea into a fully functional website takes more than choosing a design and adding a few pages.
There are several things to consider. What pages does your website need? Which platform should you use? How do you make sure it works properly on mobile devices? And what happens after the website goes live?
That’s where understanding the website development process becomes helpful.
A well-planned website doesn’t just look professional. It makes it easier for customers to learn about your business, explore your services, and take the next step, whether that’s contacting you, booking an appointment, or making a purchase.
In this guide, we’ll walk through the eight main stages of website development, explain what happens at each step, and share practical tips to help you build a website that works for your business.
What Is the Website Development Process?
The website development process is the journey of turning an idea into a working website.
It starts with understanding your business goals and continues through planning, design, content creation, development, testing, and launch. Even after your website is live, regular updates and improvements remain important.
Think of it like building a house.
You wouldn’t start putting up walls without knowing how many rooms you need or where everything should go. You’d begin with a plan, work through the construction, check that everything is safe and functional, and then move in.
Website development follows a similar approach.
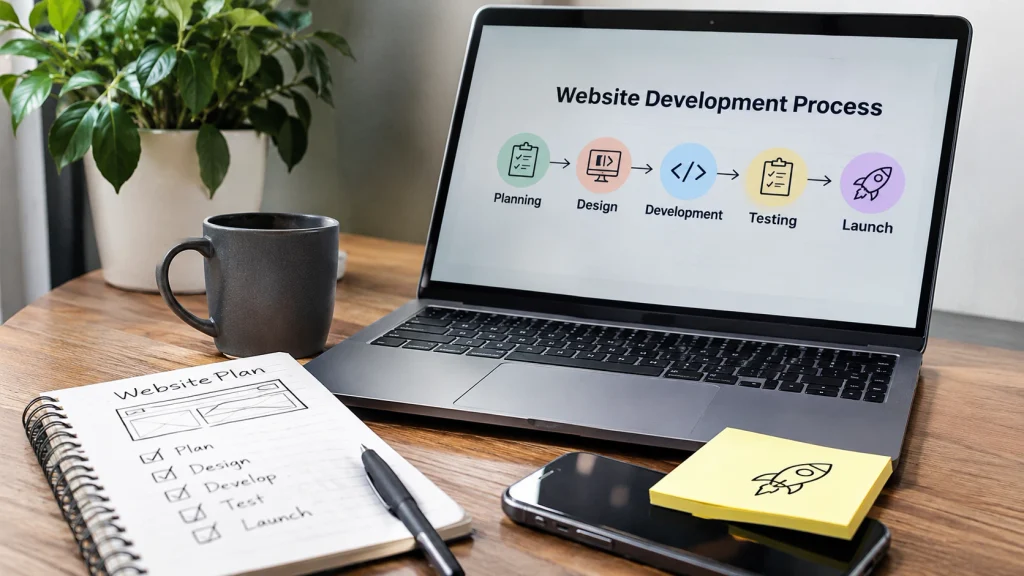
Although every project is different, most business websites go through eight main stages:
- Planning and setting goals
- Researching and organizing the website
- Creating wireframes and designs
- Preparing content and SEO
- Developing the website
- Testing and optimizing
- Launching the website
- Maintaining and improving it
Let’s look at what each stage involves.
Step 1: Start With a Clear Website Plan
Before thinking about colors, fonts, or website layouts, ask yourself one simple question:
What do I want this website to do for my business?
It sounds obvious, but it’s a question many business owners overlook.
Some businesses need a website to generate leads. Others want to sell products, showcase their work, or make it easier for customers to book appointments.
Your goals will shape almost every decision that follows.
Understand What Your Business Needs
Imagine you own a small home renovation company.
Your website probably doesn’t need dozens of complicated features. You may simply need a professional homepage, service descriptions, photos of completed projects, customer reviews, and an easy way for potential customers to request a quote.
Now imagine you’re starting an online clothing store.
Your priorities would be different. You’d need product pages, shopping carts, payment options, shipping information, and a smooth checkout experience.
Both businesses need a website, but they need very different types of websites.
That’s why defining your goals comes first.
Know Who You’re Building the Website For
Your website should be designed around your customers, not just your personal preferences.
Think about what people want to know when they visit your website.
Are they comparing services? Looking for pricing information? Trying to decide whether your business is trustworthy?
Understanding these questions helps you create a website that feels useful rather than confusing.
Quick Tip: Before starting development, write down your main business goal, target audience, essential features, and approximate budget. Even a one-page plan can make the entire project easier to manage.
Step 2: Plan Your Website Structure
Once you know what your website needs to accomplish, the next step is deciding how everything will be organized.
This is an important part of the website planning process because visitors should be able to find what they’re looking for without having to think too hard.
If someone visits your website to learn about a service, they shouldn’t have to click through five different pages just to find basic information.
Decide Which Pages You Need
For many small businesses, a simple website structure works perfectly well.
You might start with:
- Home: Introduce your business and explain what you offer.
- About: Share your story and help visitors understand your business.
- Services: Explain what you do and who your services are for.
- Portfolio: Show examples of your work, where relevant.
- Blog: Answer useful questions and share industry knowledge.
- Contact: Make it easy for customers to reach you.
You can always add more pages as your business grows.
The important thing is to create a structure that makes sense for your visitors.
Take a Look at Other Websites in Your Industry
It’s worth spending some time exploring competitor websites.
Notice how they organize their services, what information they provide, and how easy it is to navigate their pages.
You might discover useful features you hadn’t considered.
You may also notice things that could be improved, such as confusing navigation, unclear service descriptions, or contact information that’s difficult to find.
Use those observations to make better decisions for your own website.
Step 3: Turn Your Ideas Into a Website Design
This is where your website starts to take shape visually.
But before choosing colors and images, it’s helpful to figure out where everything should go.
Begin With a Simple Wireframe
A wireframe is a basic outline of a webpage.
It shows where elements such as the navigation menu, headline, images, service descriptions, and buttons will appear.
Think of it as a rough sketch of your future website.
At this stage, the goal isn’t to make everything look beautiful. It’s to make sure the layout is clear and practical.
For example, if you’re building a website for a local cleaning company, your homepage might begin with a headline explaining your services, followed by a quote request button, service details, customer reviews, and contact information.
Getting that structure right early makes the design process much smoother.
Create a Design That Fits Your Brand
Once the layout makes sense, it’s time to focus on the visual details.
This includes choosing colors, fonts, images, spacing, and other design elements.
Your website should feel like a natural extension of your business.
A law firm may prefer a clean, professional design with straightforward navigation. A creative agency might use more expressive visuals and layouts.
Neither approach is automatically better. The right choice depends on your audience and your brand.
Don’t Forget Mobile Visitors
Your website needs to look and work well on smartphones, not just desktop computers.
Buttons should be easy to tap, text should be readable, and navigation should remain simple on smaller screens.
A mobile-responsive website adjusts its layout to suit different devices.
This should be part of the original design plan rather than something you try to fix at the end.
Step 4: Prepare Your Website Content and SEO
A website can look fantastic and still leave visitors confused about what a business actually offers.
That’s why content deserves just as much attention as design.
Your words should help people understand your services, answer their questions, and feel confident about contacting you.
Write Like You’re Talking to a Customer
You don’t need complicated language to sound professional.
In fact, clear and simple explanations often work better.
Instead of writing something vague like:
“We provide innovative digital solutions that empower modern enterprises.”
You could say:
“We build professional websites that help small businesses showcase their services and connect with customers.”
The second version tells visitors exactly what you do.
Focus on being helpful, specific, and easy to understand.
Think About SEO Before Your Website Goes Live
Search engine optimization, or SEO, helps search engines discover and understand your website.
It’s much easier to consider SEO while building your website than to reorganize everything after launch.
Some important areas include:
- Choosing relevant keywords for important pages
- Writing clear page titles and descriptions
- Using headings that organize information naturally
- Creating simple, descriptive URLs
- Adding helpful links between related pages
- Optimizing images
- Making sure your website is accessible and easy to navigate
For example, if you’re a web designer serving businesses in Chicago, your service pages should clearly explain the services you offer and the areas you serve.
There’s no need to repeat the same keyword in every paragraph. Focus on creating genuinely useful content.
SEO takes ongoing work, and no development approach can guarantee top search rankings. However, building a strong foundation from the beginning makes future optimization easier.
Step 5: Build the Website and Add the Features You Need
Now comes the development stage.
This is where the approved designs are turned into actual web pages, and the features you’ve planned begin to work.
Depending on the project, developers may build the website using a content management system, a website builder, or a custom development approach.
Choose a Platform That Makes Sense for Your Business
One common option for business websites is WordPress.
WordPress gives businesses a way to manage pages, publish blog posts, and update content without rebuilding the website every time something changes.
Tools like Elementor, Divi, and Beaver Builder can also make managing page layouts easier.
If you’re planning to sell products online, WooCommerce can add shopping and checkout functionality to a WordPress website.
Of course, WordPress isn’t the right solution for every project. Some businesses need specialized features that are better handled through custom development.
The best platform is the one that supports your goals without adding unnecessary complexity.
Focus on Features That Actually Matter
It’s tempting to add every feature you see on other websites.
But more features don’t always mean a better website.
For a local service business, a reliable contact form and clear call-to-action buttons may be more valuable than complicated animations.
For an online store, smooth product browsing and checkout are likely to matter more than decorative effects.
Start with the features your customers genuinely need.
You can always improve and expand the website later.
Step 6: Test Everything Before Launch
Imagine spending weeks building your website, only to discover that your contact form doesn’t send messages.
Or worse, customers can add products to their carts but can’t complete checkout.
These are exactly the kinds of issues that website testing is meant to catch.
Before launching, go through your website as if you were a first-time visitor.
Check the Important Details
Click through every important page and test the features people will use.
Make sure:
- Navigation menus work correctly.
- Contact forms submit successfully.
- Buttons lead to the right pages.
- Images display properly.
- Text is readable on different devices.
- Shopping carts and checkout work, where applicable.
- Important pages load without errors.
It’s also worth asking someone unfamiliar with your website to explore it.
They may notice confusing navigation or unclear instructions that you’ve overlooked.
Pay Attention to Website Speed
Nobody enjoys using a website that feels slow.
Large images, unnecessary scripts, unsuitable hosting, and excessive plugins can affect performance.
You can use tools like Google PageSpeed Insights to identify possible improvements.
Remember that a website doesn’t need to be filled with animations or complex effects to impress visitors.
Often, a fast, clean website that makes information easy to find provides a better experience.
Step 7: Launch Your Website
After weeks of planning, designing, writing, and testing, your website is finally ready to go live.
This is an exciting milestone, but there are a few details worth checking before you announce the launch.
Go Through a Final Launch Checklist
Before making your website public, confirm that:
- Your domain is connected properly.
- HTTPS is working.
- All important pages are complete.
- Your website looks good on mobile devices.
- Contact forms and buttons work.
- Page titles and SEO settings are in place.
- Search engine indexing isn’t accidentally blocked.
- Website backups are available.
- Analytics tools are configured where needed.
If you’re replacing an older website, you’ll also want to make sure important old URLs redirect visitors to the correct new pages.
Once everything is ready, publish the website and test it again on the live domain.
Let People Know Your Website Is Live
Launching is also a good opportunity to tell customers about your new website.
You could share it through your business social media accounts, email newsletter, Google Business Profile, or other marketing channels you already use.
Just remember that launching a website doesn’t automatically bring in visitors.
It creates the foundation for your ongoing marketing efforts.
Step 8: Keep Your Website Updated After Launch
One of the biggest misconceptions about website development is that the work ends once the website goes live.
In reality, websites need regular attention.
Your business changes, your services evolve, and software requires updates.
Over time, you may also discover opportunities to improve the way your website works.
Make Website Maintenance a Habit
Regular maintenance can include updating WordPress plugins, checking security, backing up website files, fixing broken links, and reviewing performance.
It’s also important to keep your content current.
For example, if you’ve introduced a new service or changed your business hours, your website should reflect that information.
Outdated details can frustrate visitors and create unnecessary confusion.
Learn From Your Website Visitors
Once your website has been running for a while, look at how people use it.
Which pages receive the most visits? Are customers submitting your contact form? Do visitors leave before reaching important information?
Tools such as Google Analytics and Google Search Console can provide useful insights.
You don’t need to change everything at once.
Sometimes, improving a headline, simplifying a form, or making a contact button more visible can make the website easier to use.
The goal is to keep learning and improving.
How Long Does It Take to Build a Website?
This is one of the most common questions business owners ask.
The answer depends on what you’re building.
A small website with a handful of pages and basic functionality may take a few weeks. A larger website with custom features, e-commerce functionality, or complex integrations can take much longer.
Content preparation also makes a difference.
If your branding, images, service descriptions, and other materials are ready before development begins, the project may move more smoothly.
On the other hand, frequent design changes or new feature requests can extend the timeline.
A good website development plan should include realistic milestones and enough time for feedback, revisions, and testing.
Common Website Development Mistakes Worth Avoiding
Building a website involves plenty of decisions, and it’s easy to make mistakes along the way.
Here are a few things to watch out for.
Trying to Make the Website Perfect Before Launch
It’s important to test your website properly, but you don’t need every possible feature on day one.
Focus on launching a complete, reliable website that serves your customers. Additional improvements can happen over time.
Choosing Design Over Usability
A creative design can make a strong impression, but visitors still need to find information quickly.
If someone struggles to locate your services or contact details, visual effects won’t solve the problem.
Leaving Content Until the Last Minute
Content affects page layouts, navigation, and SEO.
Preparing it early can prevent unnecessary redesign work.
Ignoring Ongoing Maintenance
Your website needs updates, backups, and regular checks.
Planning for maintenance from the beginning can help avoid problems later.
Frequently Asked Questions
1. What are the main steps in the website development process?
The main steps include planning, research, website design, content preparation, development, testing, launch, and ongoing maintenance. Each stage helps turn your website idea into a functional online presence.
2. How long does it take to develop a small business website?
A straightforward small business website may take a few weeks, depending on the number of pages, required features, and how quickly content and feedback are provided. More complex projects usually need additional time.
3. Do I need technical knowledge to build a business website?
Not necessarily. Platforms like WordPress make it possible to manage website content without advanced coding knowledge. However, professional development support can be valuable when you need custom designs, integrations, performance optimization, or technical troubleshooting.
4. Should I choose WordPress or a custom website?
It depends on your requirements. WordPress works well for many business websites, blogs, and online stores. Custom development may be a better fit when your project requires specialized functionality that existing solutions cannot efficiently provide.
5. What happens after my website is launched?
After launch, you’ll need to maintain the website, update content, monitor performance, and address technical issues. You can also continue improving SEO, user experience, and features as your business grows.
Final Thoughts: A Good Website Starts With a Good Plan
The website development process might seem complicated at first, but it’s much easier to manage when you approach it one step at a time.
Start by understanding what your business needs. Plan your pages carefully, create a design that works for your audience, prepare helpful content, and choose the right development tools.
Before launch, test everything thoroughly. And once your website is live, keep improving it as you learn more about your customers.
Most importantly, remember that your website isn’t just something people look at.
It’s a place where potential customers form their first impressions, learn about your business, and decide whether to take the next step.
Getting the fundamentals right can make a meaningful difference.
Need Help Building Your Business Website?
If you’re planning a new website or thinking about redesigning your existing one, Nexryvo can help.
We work with businesses that need professional WordPress websites, custom designs, WooCommerce stores, landing pages, and website improvements.
Whether you already know what you want or are still figuring out the details, we’re here to help you explore the right approach for your project.